 CarDash Launcher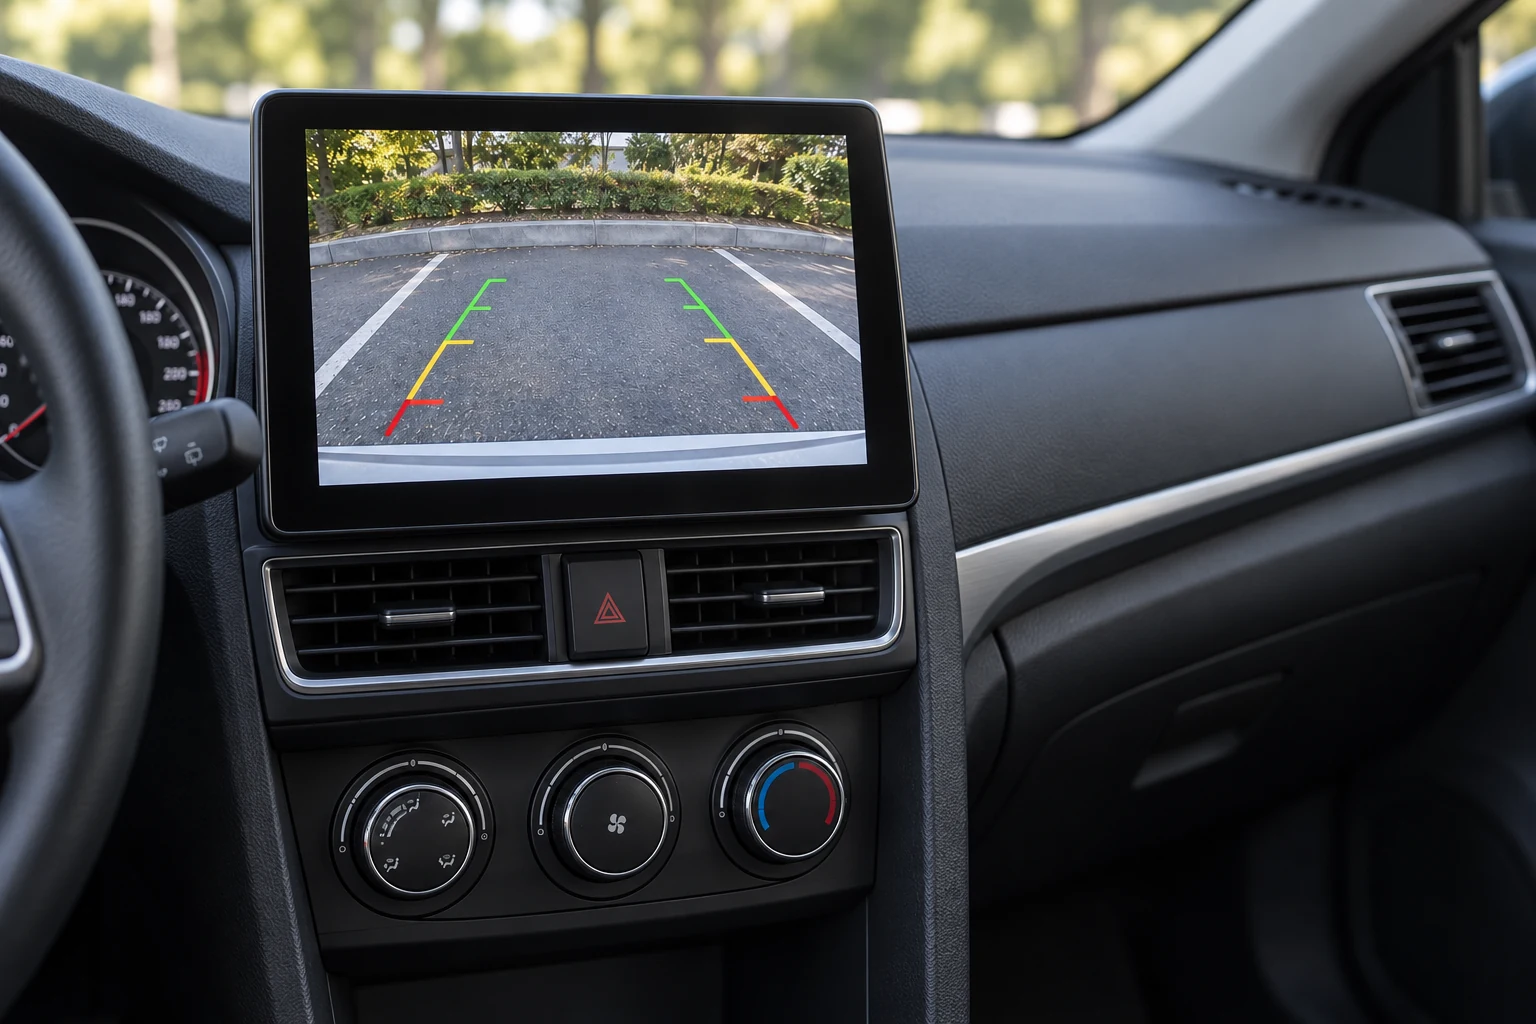
Contents
When choosing a reversing camera for an Android head unit, check the camera input first, then choose the camera, its power supply and the reverse activation method. “For Android”, “HD” and a matching plug do not establish compatibility with a particular stereo.
The camera supplies video, the power circuit runs the camera, and the reverse command switches the head unit to the camera view. Check these three functions separately.
01Start with the head unit’s camera input
Read the instructions for your exact Android head unit or request specifications for its model and hardware revision. The Android version and display resolution do not establish camera-input capabilities. A high-resolution screen does not by itself confirm AHD 1080p support.
Before buying, confirm:
- Supported input formats: CVBS, AHD or both.
- The supported resolution and frame rate for each mode.
- PAL/NTSC support for composite video.
- The connector or RCA socket used for the rear camera.
- How reverse is detected: a BACK/REVERSE input or a compatible CAN decoder.
- Whether there is a camera power output, its voltage and its current limit.
Find the rear-camera input identified in the manual as CAM-IN, REAR CAMERA IN or a similar name. Do not pick a socket simply because it is yellow: the harness may include other video inputs and outputs.
02CVBS and AHD are different video formats
CVBS is standard-definition composite analogue video. Check the camera’s PAL/NTSC format against the head unit’s supported modes. It is an option for a stereo that accepts that composite-video format.
AHD carries high-definition analogue video. Cameras for compatible head units include 720p and 1080p models. For example, the XTRONS CAM1080 has a 1920 × 1080 AHD output. An AHD camera will only work if the head unit accepts its particular output mode. Source: XTRONS CAM1080: AHD camera specifications.
Check the frame rate as well. If the head unit offers several AHD settings, select the mode specified for the camera rather than the largest resolution listed.
Some cameras change format through a jumper or wire loop. Follow that particular camera’s instructions for wire colours and switching. Instructions for a similar-looking camera do not establish which loop to open.
RCA is a connector type, not a video format. Matching plugs do not establish video compatibility. A passive adapter changes contact connections; changing video formats requires a device that actually performs the conversion.
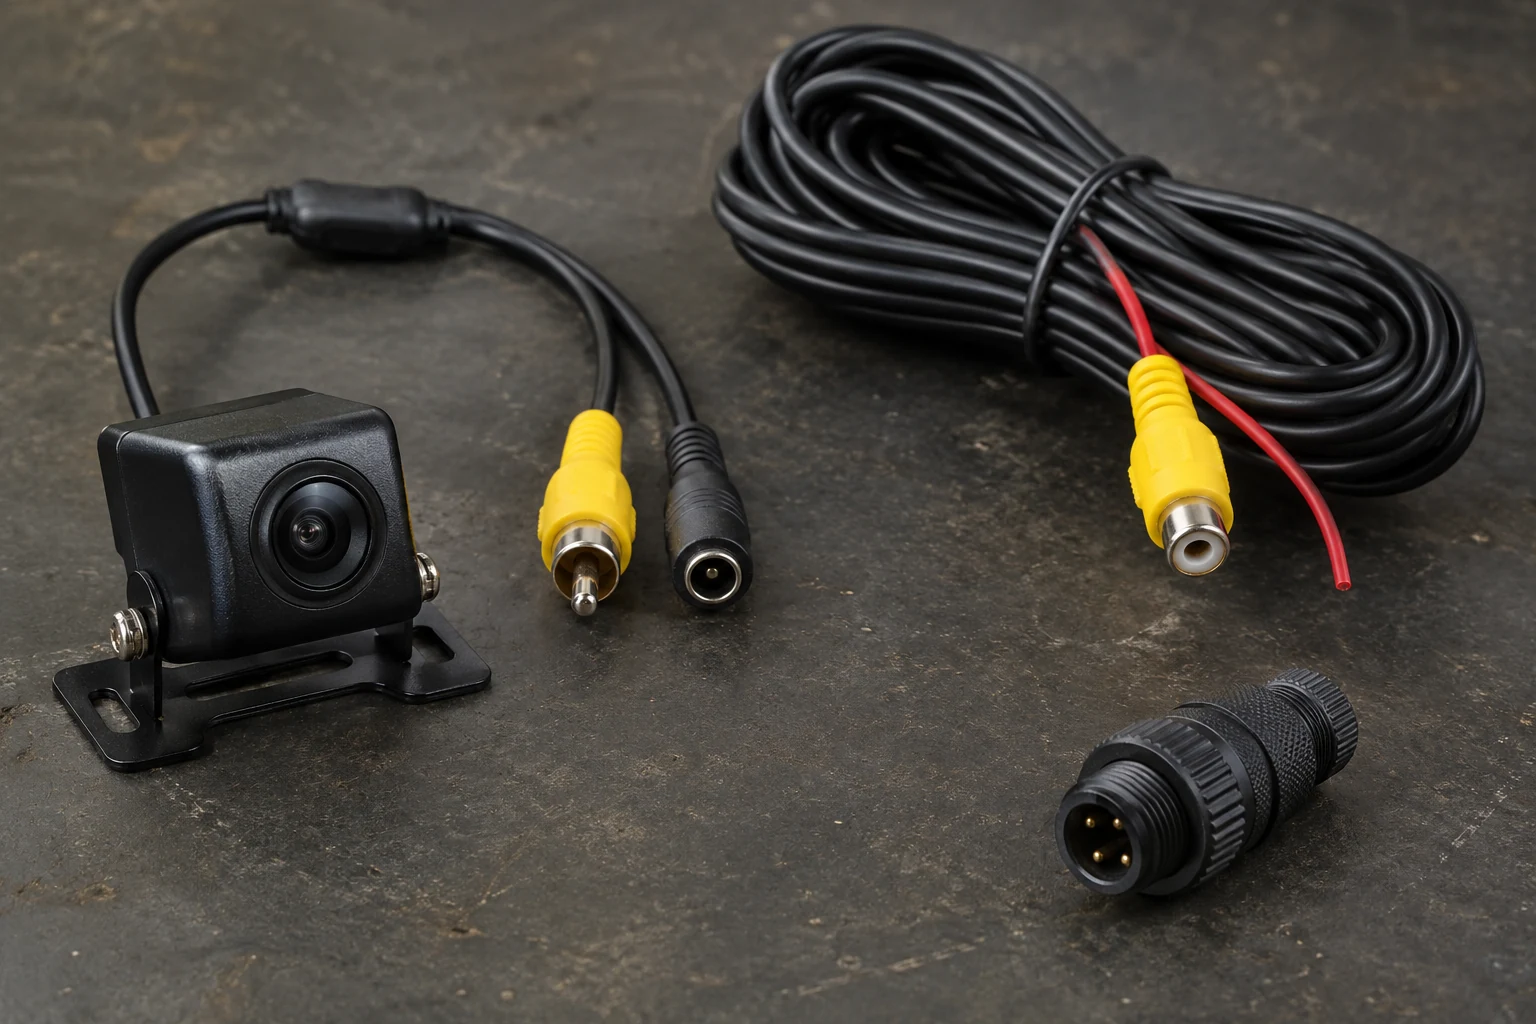
Choose CVBS when the head unit supports the required CVBS mode. Choose AHD when format, resolution and frame rate are confirmed for both devices.
03Wired and wireless connections to an Android stereo
A wired camera with RCA. Video travels through a cable to the rear-camera input. Power is connected separately or through the supplied harness. Check the video format, cable length, supply voltage and reverse activation method.
A camera with a multi-pin connector. Video and power may share one connector at the camera and split into separate connections at the head unit. Neither the pin count nor the plug shape establishes the pinout. Use a matching harness; matching connectors without a wiring specification are not enough.
A wireless video kit. Video travels by radio between the rear of the vehicle and the head unit. The camera connects to a transmitter, and the receiver connects to the stereo’s camera input. Check the receiver’s output format, the power requirements of both modules and how the reverse command reaches the stereo. JOYING provides separate examples of wired and wireless camera connections. Source: JOYING: wired and wireless camera connections.
A compatible wireless kit avoids running a long video cable through the cabin but still needs power connections. Check image delay and stability in the intended mounting positions before permanent installation.
04Choose the housing and mounting position
Once electrical compatibility is confirmed, choose the mounting method: a universal bracket, a number-plate mount, a flush-fit housing or a vehicle-specific replacement fitted to a boot handle, trim panel or another suitable position.
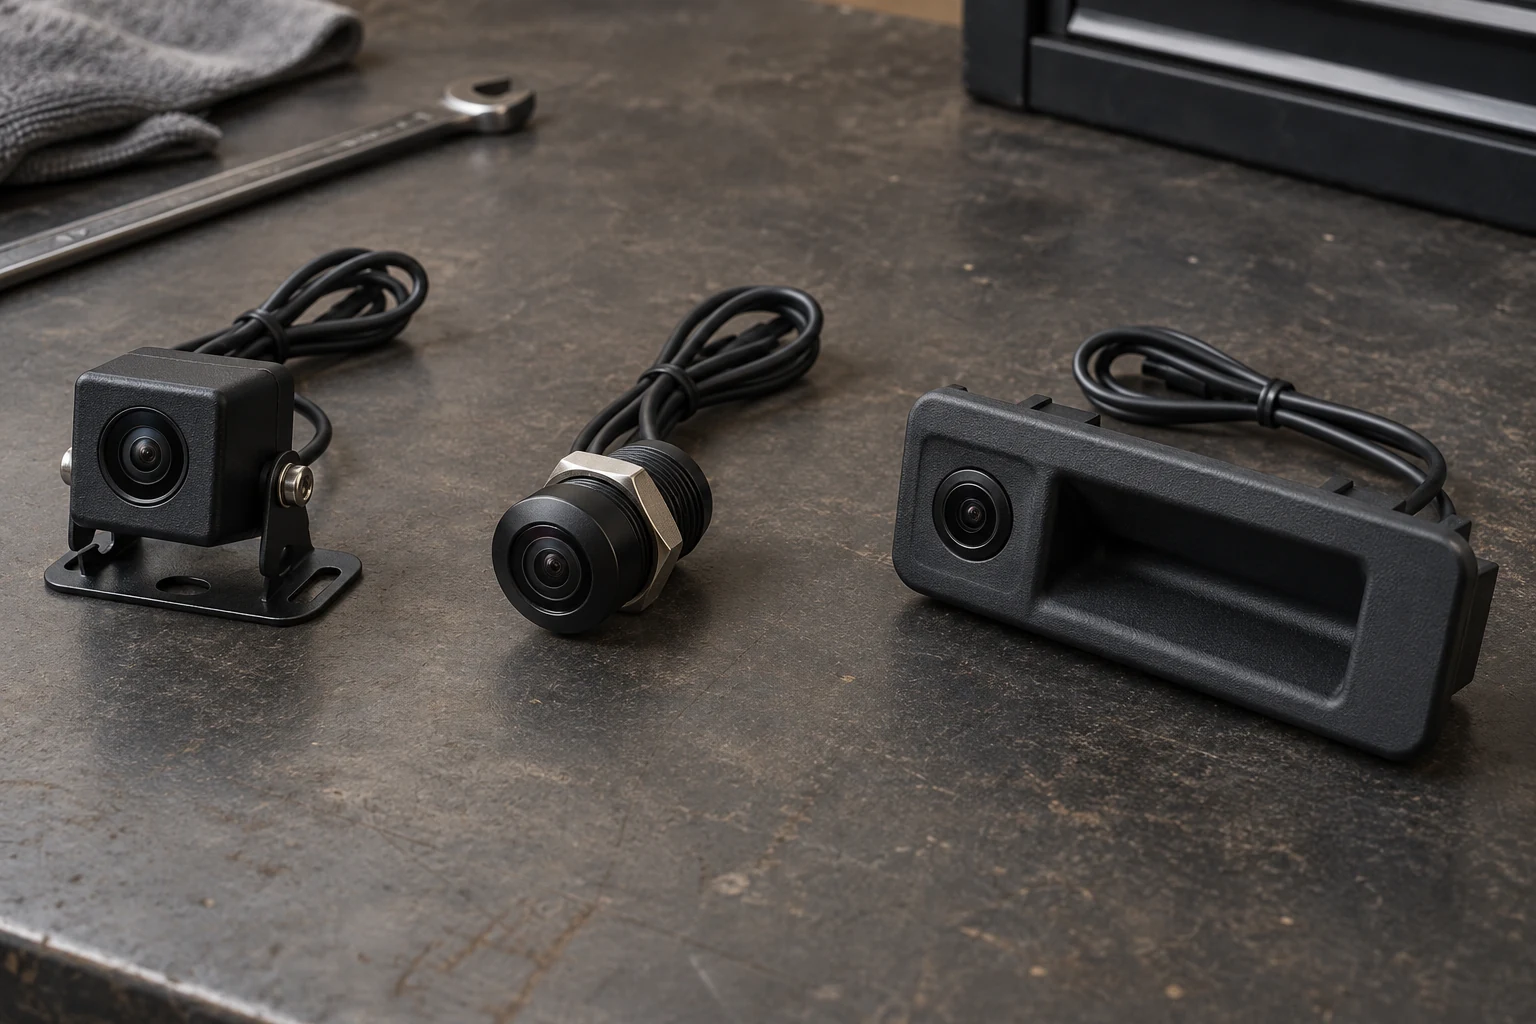
For a vehicle-specific housing, check dimensions, fixings and the continued operation of the parts it replaces. A similar product photo does not confirm fitment to your particular vehicle. If the camera replaces a number-plate lamp, establish how the lighting is retained.
Temporarily position the camera and check the image on your Android head unit before drilling or fixing it permanently. Check that a useful part of the rear of the car is visible, that the side coverage is adequate and that the housing does not block the useful view. Keep the number plate visible and the boot handle working.
05Three ways to power the camera and activate reverse view
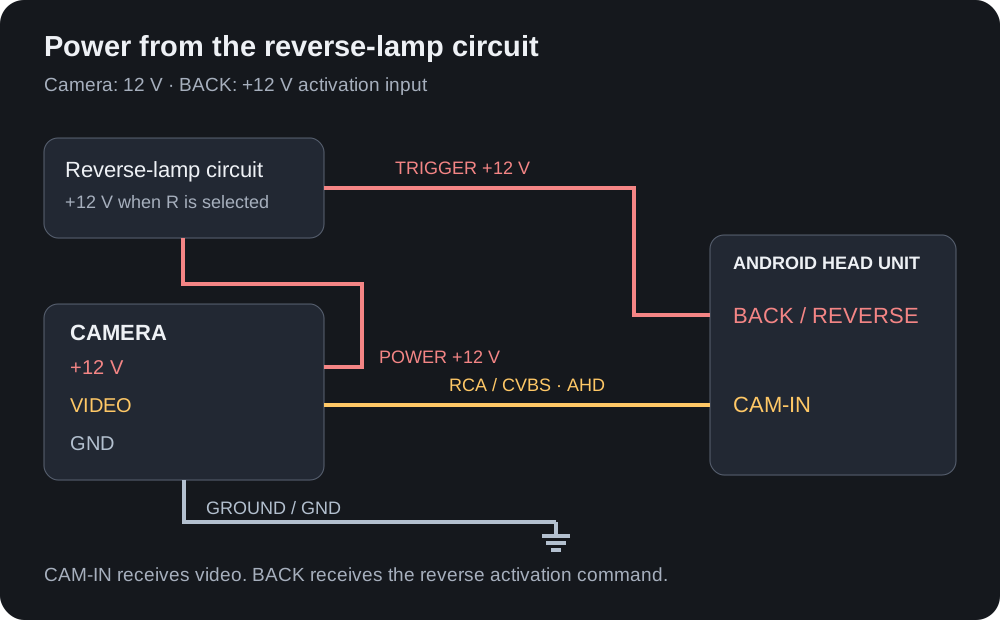
In all three arrangements, the camera’s video output connects to the Android stereo’s designated rear-camera input. The power source and reverse activation method differ.
Option 1. Reverse-lamp power and a separate BACK/REVERSE input.
The camera receives power from the reverse-lamp circuit, with its return connected to the ground specified by the installation. A separate wire carries the reverse signal to the head unit’s control input. This arrangement requires a camera rated for the circuit’s voltage, stable power and a head unit that accepts that control signal. XTRONS describes camera power, video and reverse activation as separate connections in its installation guide. Source: XTRONS: camera installation guide, PDF.
Option 2. A dedicated camera power output on the head unit.
Use this output only after confirming its purpose, voltage, current limit and operating behaviour. Labels such as CAMERA POWER or CAM 12V are not a complete wiring specification. Reverse activation still needs to reach the head unit by the method specified in its instructions.
Option 3. A suitable separate power supply and activation through a CAN decoder.
In a compatible installation, the decoder tells the Android head unit when reverse is selected. A separate wire from the reverse lamp to BACK may then be unnecessary. A CAN decoder does not by itself establish that there is a suitable power output for the camera. JOYING distinguishes harness arrangements with and without a CAN decoder; use the instructions for the specified model and kit. Source: JOYING: harness connections with and without a CAN decoder.
If you use a separate protected power circuit, its switching and protection must meet the equipment’s requirements. Viewing the rear camera manually outside reverse also requires a supporting stereo mode and camera power at that time.
Do not join power outputs from different devices unless the wiring instructions explicitly require it. Do not use a control output to power the camera without checking its load rating.
06Power and the thin wire beside the RCA cable
Check the camera’s supply voltage in its documentation. For example, XTRONS specifies 12–24 V for the CAM1080. That is a specification for that model, not for every camera with a similar housing.
The thin extra wire alongside a video cable may carry the reverse command or another connection specified by the kit. Identify its purpose from the wiring diagram. Do not automatically assume it can power the camera: conductor size and permitted load must be suitable.
Distinguish these connections before wiring:
- CAM-IN, the video input.
- BACK/REVERSE, the control input.
- The camera power output, if one is provided.
Do not apply positive supply voltage to a video contact. Identify wires by their markings and documentation, rather than colour alone.
If the picture flickers with the engine running, check power, ground and video connections. A pulse-controlled reverse lamp may require a suitable camera power solution. EchoMaster offers the CA-FLTR filter for vehicles with PWM. Interference alone does not establish that this particular filter is required; identify the cause first. Source: EchoMaster CA-FLTR: camera power filter for PWM.
07Settings and picture quality
After connection, select the camera mode on the Android head unit that matches the camera’s output. Menu names and available modes vary between units. There is no universal menu path or settings password for all Android stereos.
Check image orientation and parking guidelines. If both the camera and head unit draw guidelines, keep one source. Use real objects to confirm that the picture is oriented correctly and that the lines make sense for the vehicle’s position.
The manual for XTRONS UA Android head units separately covers mirrored images, missing video and poor picture quality. It recommends checking the reverse control wire, video cable, connections and camera standard. Source: XTRONS UA: camera settings and troubleshooting, PDF.
Separate two troubleshooting cases. If the stereo does not switch to the camera, check reverse activation and the relevant settings. If it switches but there is no picture, check camera power, the video input, cable and matching modes. This is a checking order, not a definite diagnosis from a single symptom.
Compare cameras by their picture on your own head unit: visible obstacles, evening performance, glare from lamps and delay. Compare viewing angles measured on the same axis; horizontal and diagonal angles are different specifications. Check housing and connection protection as well as operating temperatures.
08Test before final assembly
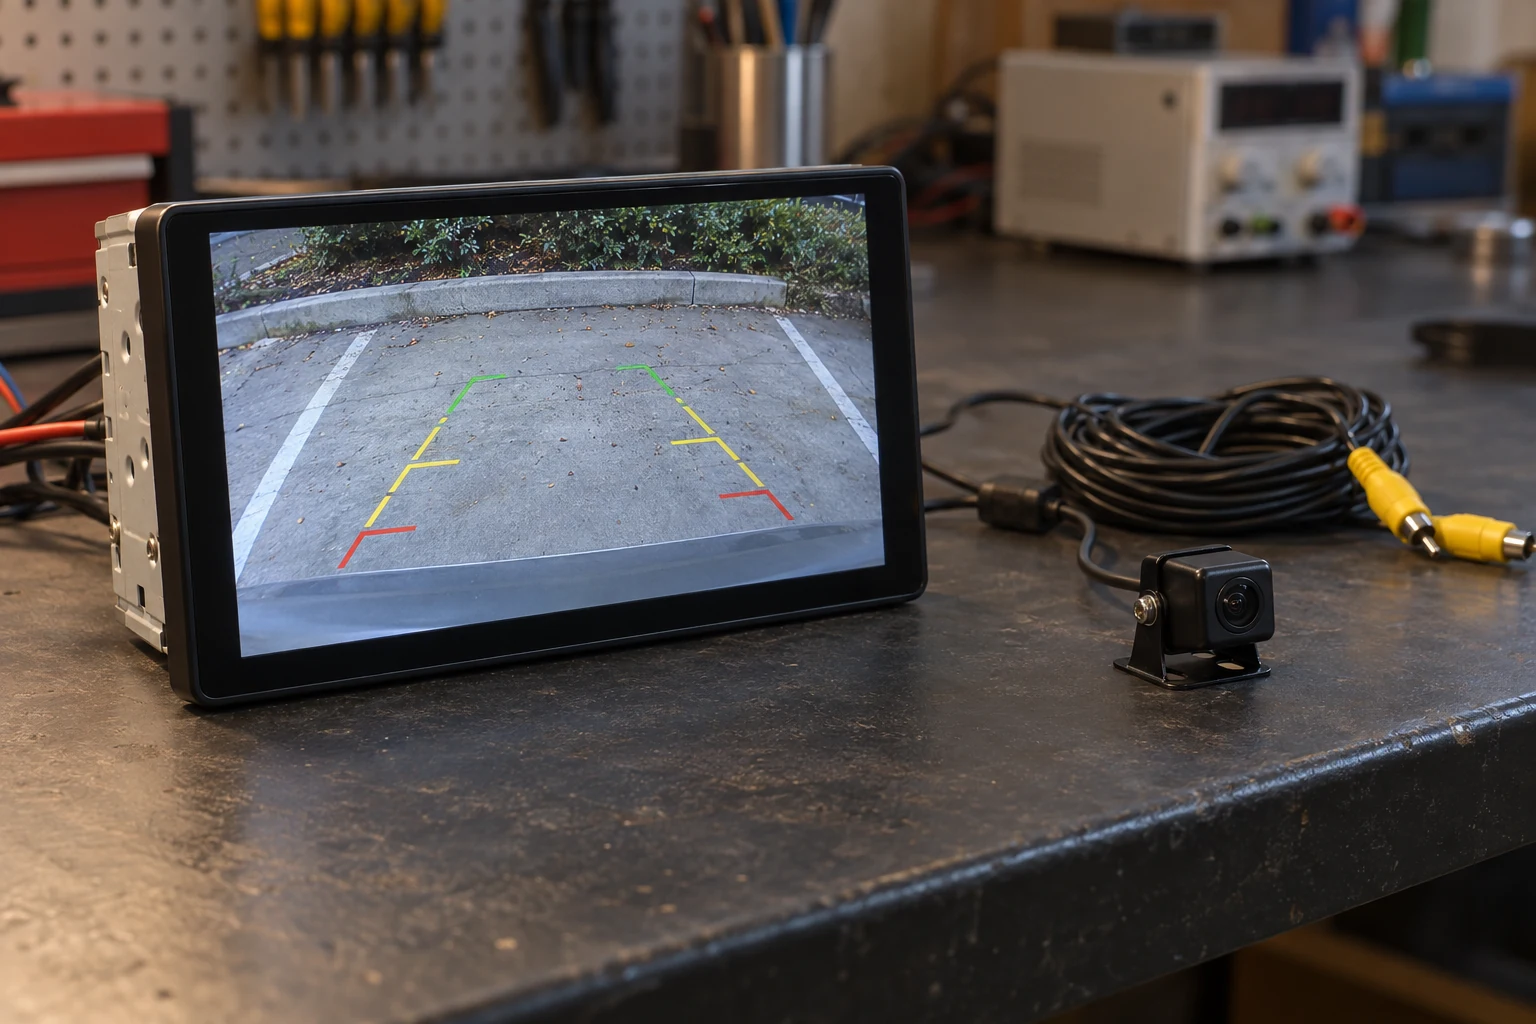
Test on a stationary vehicle with measures that prevent it from moving. Before concealing cables or reassembling the dashboard:
- Select and deselect reverse several times.
- Check operation after a cold boot and after the head unit wakes from sleep.
- Repeat with the engine running and electrical accessories switched on.
- Check delay, orientation, guidelines and the useful field of view.
- Look at the image in the evening and under reverse-lamp illumination.
- For a wireless kit, check the link in its final mounting positions.
- Confirm that the screen returns to the intended mode after the manoeuvre and that equipment power switches off according to the chosen arrangement.
09What to confirm before buying
Replace “Will this camera work?” with a specific compatibility request. Give the exact model and hardware revision of your Android head unit and the vehicle receiving the camera. Ask the seller to confirm:
- The camera’s output format and the head unit’s matching input mode.
- Resolution, frame rate and PAL/NTSC where applicable.
- Supply voltage and current consumption.
- The pinout of every connector.
- How reverse view is activated.
- Required adapters, converters and interfaces.
- Whether guidelines and image orientation can be changed.
- Supplied parts, cable length, mounting hardware and return terms.
Choose the camera after this combination is confirmed. Matching video, correct power, a clear activation arrangement and a verified picture on your Android head unit tell you more than a “Full HD” label in a listing.
Checklist before buying
- Camera output and stereo input match in format, resolution and frame rate.
- Supply voltage, current requirements and the power source are confirmed.
- Connector pinouts and reverse activation are documented.
- The mount fits the vehicle and the cable is long enough.
- Orientation, guidelines, delay and evening visibility have been checked.
- The camera and connections are protected from moisture; return terms are known.